JMTS 3 User Guide
Job Management
The following outlines the basic steps in job management.
Job Entry
The following steps can be taken to create a new job:
- 1. Click the New button in the Job Management or Job Browser tab as shown in Figure 1.
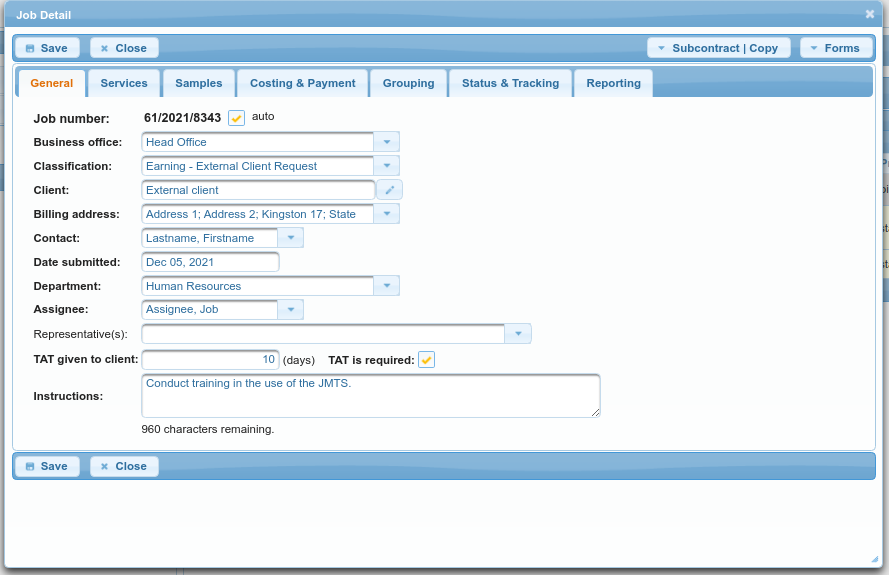
- 2. When the Job Detail GUI pops up, each required field, in the General tab of the interface, should be appropriately filled out.
- 3. If the job includes any sample(s), a sample entry should be made via the Samples tab of the interface by doing the following: a) Click the New button in the Samples tab. b) When the ‘Job Sample’ GUI pops up, fill out the relevant fields under both the ‘General’ tab. c) Click the ‘Ok’ button to complete the sample entry.
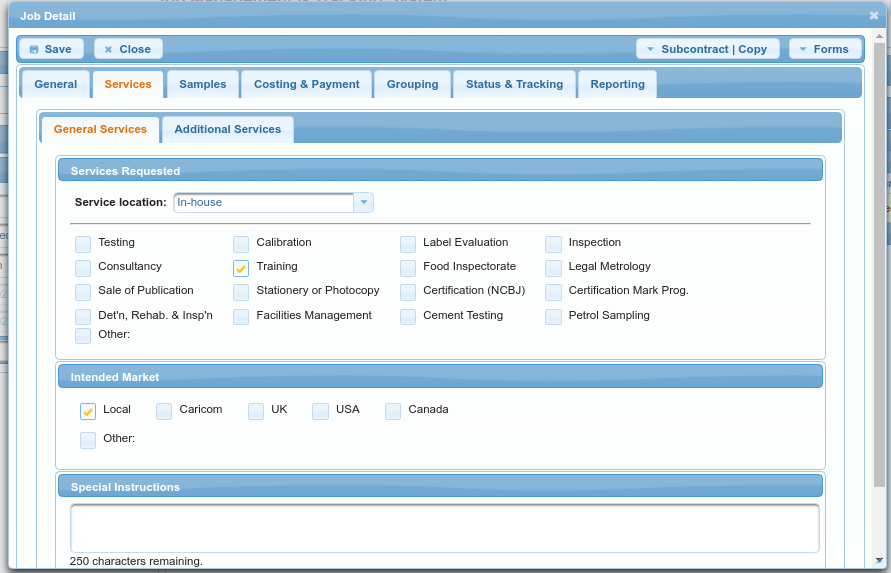
- 4. Select the ‘Services’ tab.
- 5. All the relevant tick boxes and or fields should be appropriately filled out and or ticked.
- 6. Select the ‘Costing & Payment’ tab.
- 7. All the relevant fields should be appropriately filled out.
- 8. Click the ‘Save’ button to complete the job entry.
It is recommended that the ‘Save’ button be clicked as much as is reasonable throughout the entire data entry process before the job entry is completed.
Job Update
Figure 1: The Job Browser displays jobs that were found after doing a search

Figure 2: The Job Detail window with the General tab selected. shows the details of a job

Figure 3: The Job Detail window with the Services tab selected
