JMTS User Guide
System Management
The System Management module in JMTS provides centralized control over users, roles, permissions, security policies, system settings, and administrative activity logs. Designed for enterprise environments, it ensures secure access management, compliance, and efficient governance across your ERP platform.
Definitions
User
A User is an authorized individual who has been granted access to the Job Management & Tracking System (JMTS). Each user is assigned specific roles and privileges that determine what actions they can perform and which modules or data they can access within the system. Users may include administrators, managers, staff members, or other stakeholders who interact with JMTS to carry out organizational tasks.
Module
A Module is a distinct functional component of the Job Management & Tracking System (JMTS) designed to manage a specific area of business operations. Each module contains related features, workflows, data structures, and privileges that support a particular function, such as client management, financial management, human resource management, reporting, or system administration. Modules work together within the JMTS framework to provide an integrated and scalable Enterprise Resource Planning (ERP) solution.
Privilege
A Privilege is a defined system authorization that grants a User permission to perform a specific action or access a particular resource within the Job Management & Tracking System (JMTS). Privileges control what users can view, create, modify, approve, or delete across modules. By assigning privileges to roles and users, JMTS enforces security, accountability, and proper separation of duties within the organization.
Adding Users
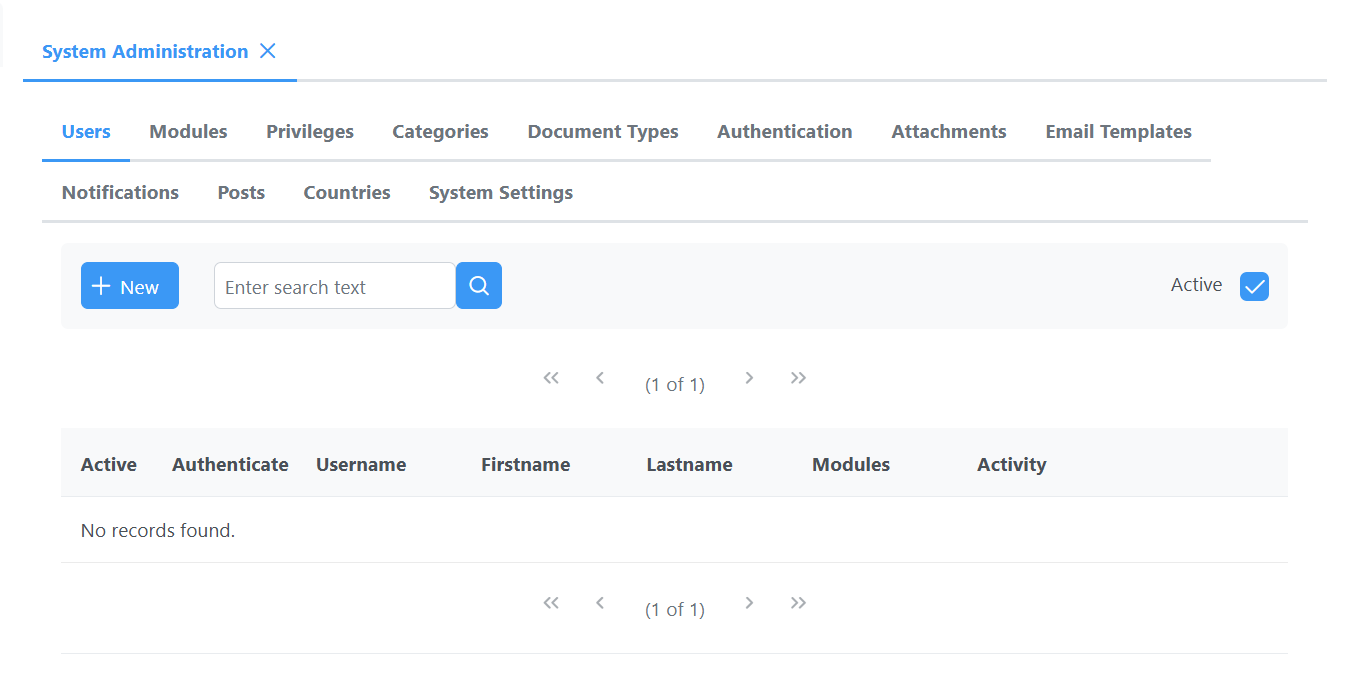
A user can be added by pressing the "New" button as shown in Figure 1 below:
Figure 1: System Administration Window
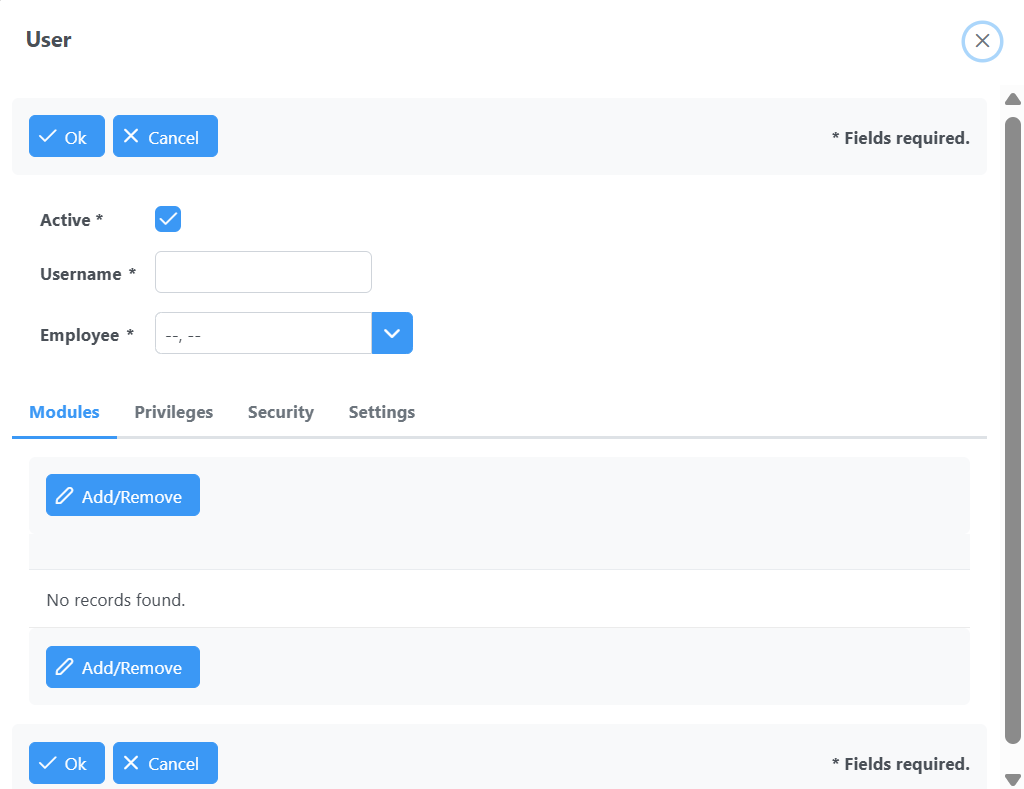
The Username and Employee fields must be filled out as shown in Figure 2: User Dialog below. Modules and privileges can be assigned from the Modules and Privileges tabs as shown in the figure:
Figure 2: User Dialog
Assigning Modules
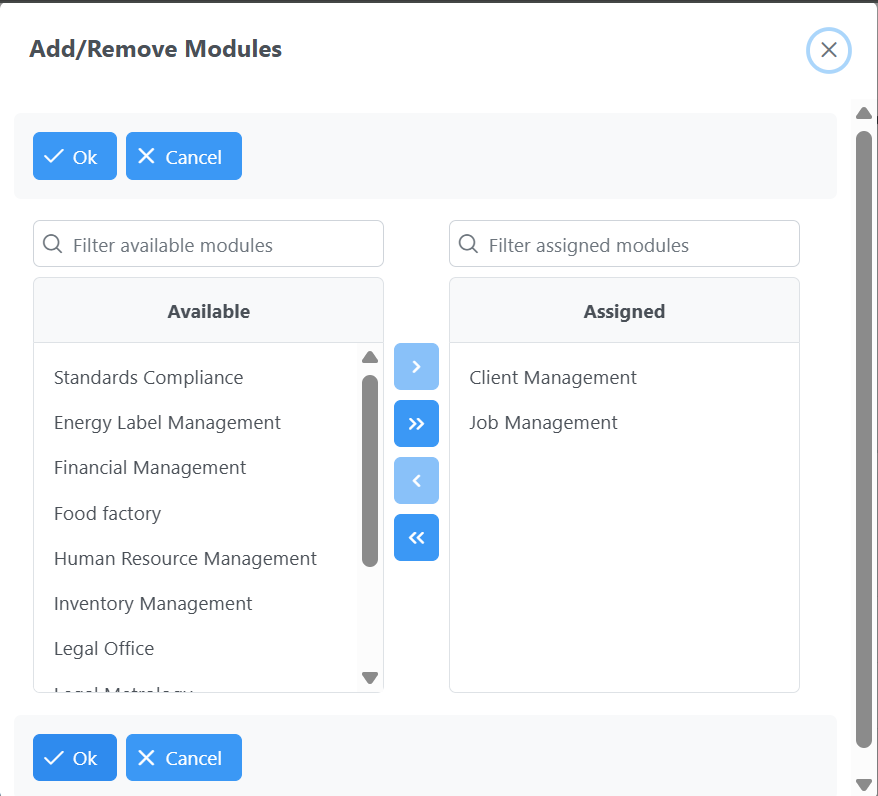
The User Module (Add/Remove Modules) dialog shown in Figure 3 can be used to assign modules to a user. Modules can be moved between the Available and the Assigned columns by clicking the appropriate buttons between the columns or by double-clicking a module's name.
Figure 3: User Module (Add/Remove Modules) Dialog
Assigning Privileges
The User Privilege (Add/Remove Privileges) dialog shown in Figure 4 can be used to assign privileges to a user. Privileges can be moved between the Available and the Assigned columns by clicking the appropriate buttons between the columns or by double-clicking a privilege's name.
Figure 3: User Privilege (Add/Remove Privileges) Dialog
