JMTS User Guide
Job Management
The Job Management module is the core operational engine of the Job Management & Tracking System (JMTS). It provides organizations with structured tools to create, assign, monitor, and manage jobs from initiation to completion. By centralizing job data and workflows, the module improves visibility, accountability, and operational efficiency. Designed for enterprise environments, the Job Management module allows managers to assign responsibilities, track progress in real time, monitor deadlines, and generate performance reports. Seamlessly integrated with other JMTS modules, it ensures that job-related activities align with organizational objectives, resource planning, and compliance requirements.
Definitions
Required field
This is the term used to refer to any form field which must be filled out with data and should never be left blank. The field label for these fields are shown in bold font.
Authorized User
This is the term used to describe an entity that is permitted to log into JMTS with a valid username and password.
Job
A job refers to any official task that an individual undertakes on behalf of his/her organization.
Job Entry
This is the term used to refer to a combination of data that is saved in JMTS and represent only one job. Each job entry is uniquely identified by a specially generated code called a Job Number. However, it is possible for an authorized user to enter a Job Number in any format.
Job Sample
A Job Sample refers to data entered into JMTS for each sample of product(s) associated with a job.
User Authentication
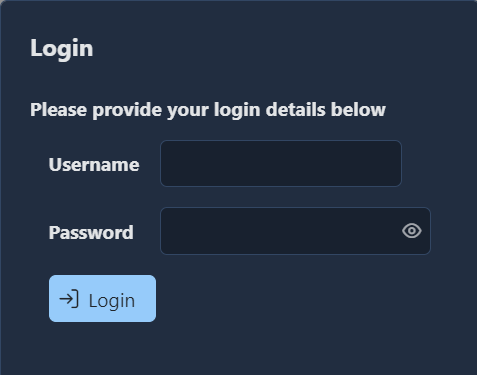
A person who intends to use JMTS must be authenticated and become an authorized user by doing the following:
- 1. Open a browser then enter JMTS address (e.g. http://localhost/jmts) into the address field of the browser
- 2. When the Login Dialog appears, type a valid username and password then press the Login button as shown in the Figure 1 below
- 3. A person whose login attempt is validated will be directed to their 'Home' page of JMTS
Figure 1: Login Dialog
Job Entry
The following steps can be taken to create a new job:
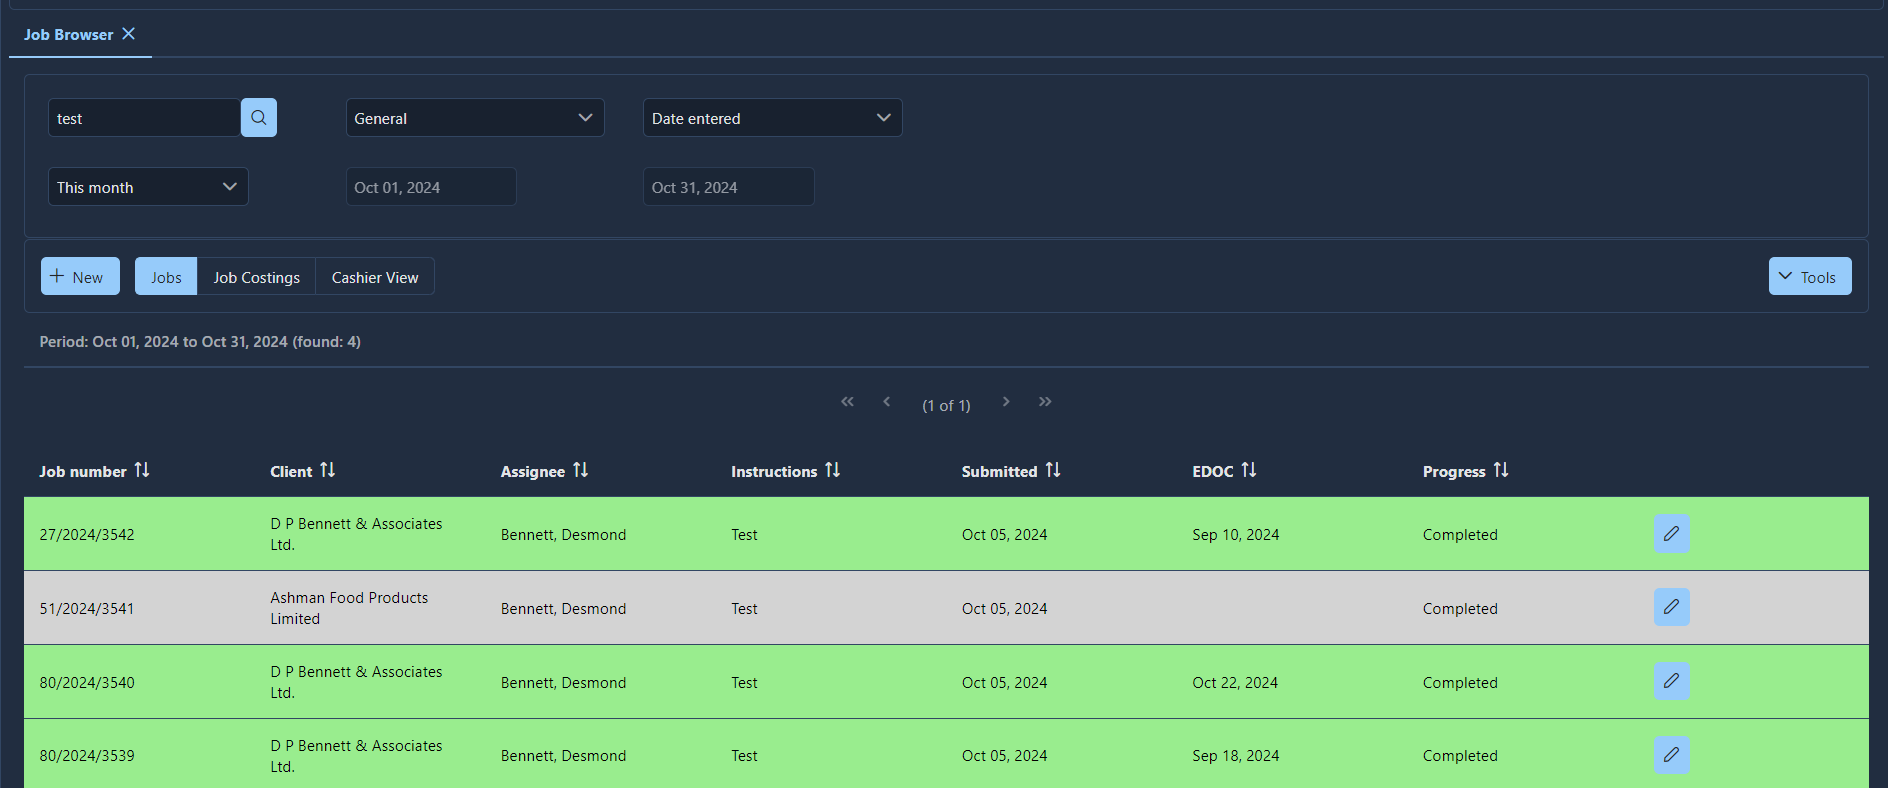
- 1. Click the New button as shown in Figure 2: Job Browser
- 2. When the Job window ( see Figure 3: Job window) pops up, each required field, in the General tab of the interface, should be appropriately filled out
-
3. If the job includes any sample(s), a sample entry should be made via
the Samples tab of the interface by doing the following:
- a) Click the New button in the Samples tab
- b) When the ‘Job Sample’ window pops up, fill out the relevant fields under all tabs
- c) Click the ‘Ok’ button to complete the sample entry
- 4. Select the ‘Services’ tab.
- 5. All the relevant check boxes and/or fields should be appropriately checked or filled out.
- 6. Select the ‘Costing & Payment’ tab.
- 7. All the relevant fields should be appropriately filled out.
- 8. Click the ‘Save’ button to complete the job entry.
Figure 2: Job Browser
It is recommended that the ‘Save’ button be clicked as often as is reasonable throughout the entire data entry process before the job entry is completed.
Job window
The following figures show various screenshots of the Job window:
Figure 3: Job window
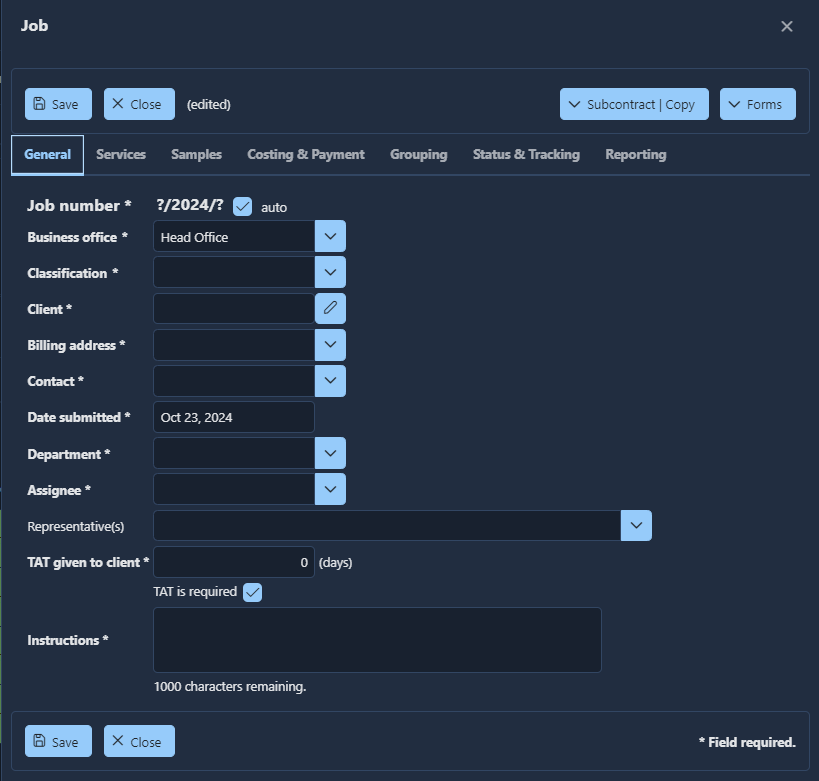
Figure 4: The Job window with the Services tab selected
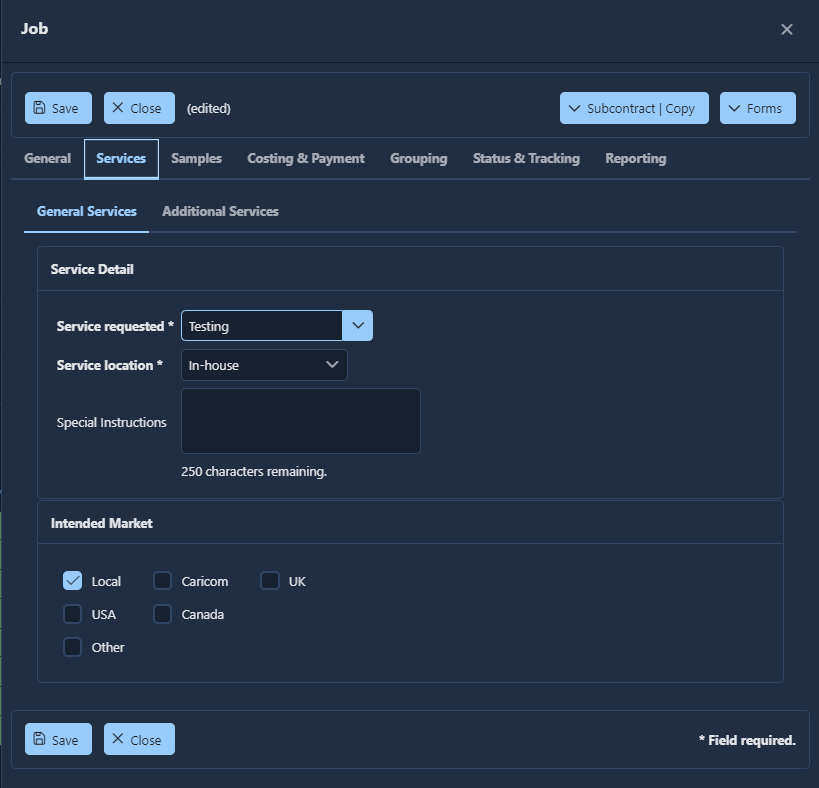
Figure 5: The Job window with the Samples tab selected

Figure 6: The Job window with the Costing & Payment tab selected
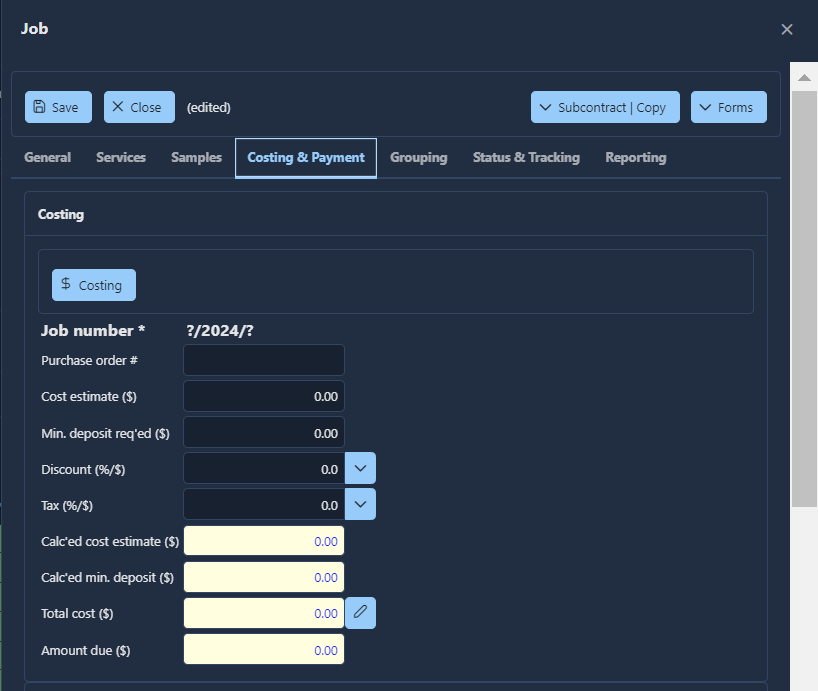
Figure 7: The Job window with the Status & Tracking tab selected
![]()